Use Github as a CMS for your NextJS Blog
A quick and easy way to use Github discussions as Content Management System (CMS) for comments section of your NextJS blogs
So, you've created a shinny new blog website using NextJS and want to engage more with your readers? What better way than with a vibrant comment section?
So what are your options?
- Extend the blog templates provided in NextJS marketplace.*I would rather spend time in option 2 than read > understand > tweak someone else's code.
- Build your own custom solution from scratch. Summon your inner Software Architect and science the s**t out of it. I wish I had time for that.
- Use out of the box solutions, such as Disqus, Giscus, Facebook Social Plugin etc. 👍🏼
In this blog, we will be using a clean and simple solution called giscus which is an open source commenting solution that uses GitHub issues as the backend for comments. It's easy to use and has a lot of features like reactions, emoji support, markdown support etc.
Benefits of Using giscus
giscus is a GitHub-based comment management system that leverages the power of GitHub Discussions APIs to provide a scalable and reliable solution for managing comments on your website. Here are some benefits of using giscus:
- Scalability: giscus is designed to handle large volumes of traffic and comments, making it an ideal choice for popular blogs or websites.
- Ease of use: With giscus, you don't need to worry about building and maintaining a custom comment system. The platform handles everything from authentication to comment moderation.
- Flexibility: giscus allows you to customize the look and feel of your comment section using various themes and layout options.
- Security: As a GitHub-based solution, giscus inherits the security features and trustworthiness of the GitHub platform.
How giscus Works
giscus uses the GitHub Discussions API to search for matching discussions based on a chosen mapping (e.g., URL, pathname, title). If no matching discussion is found, giscus will automatically create one when someone leaves a comment or reaction. Visitors must authorize the giscus app to post comments on their behalf using the GitHub OAuth flow.
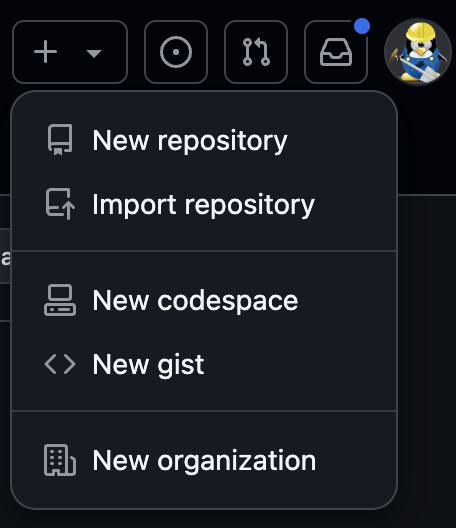
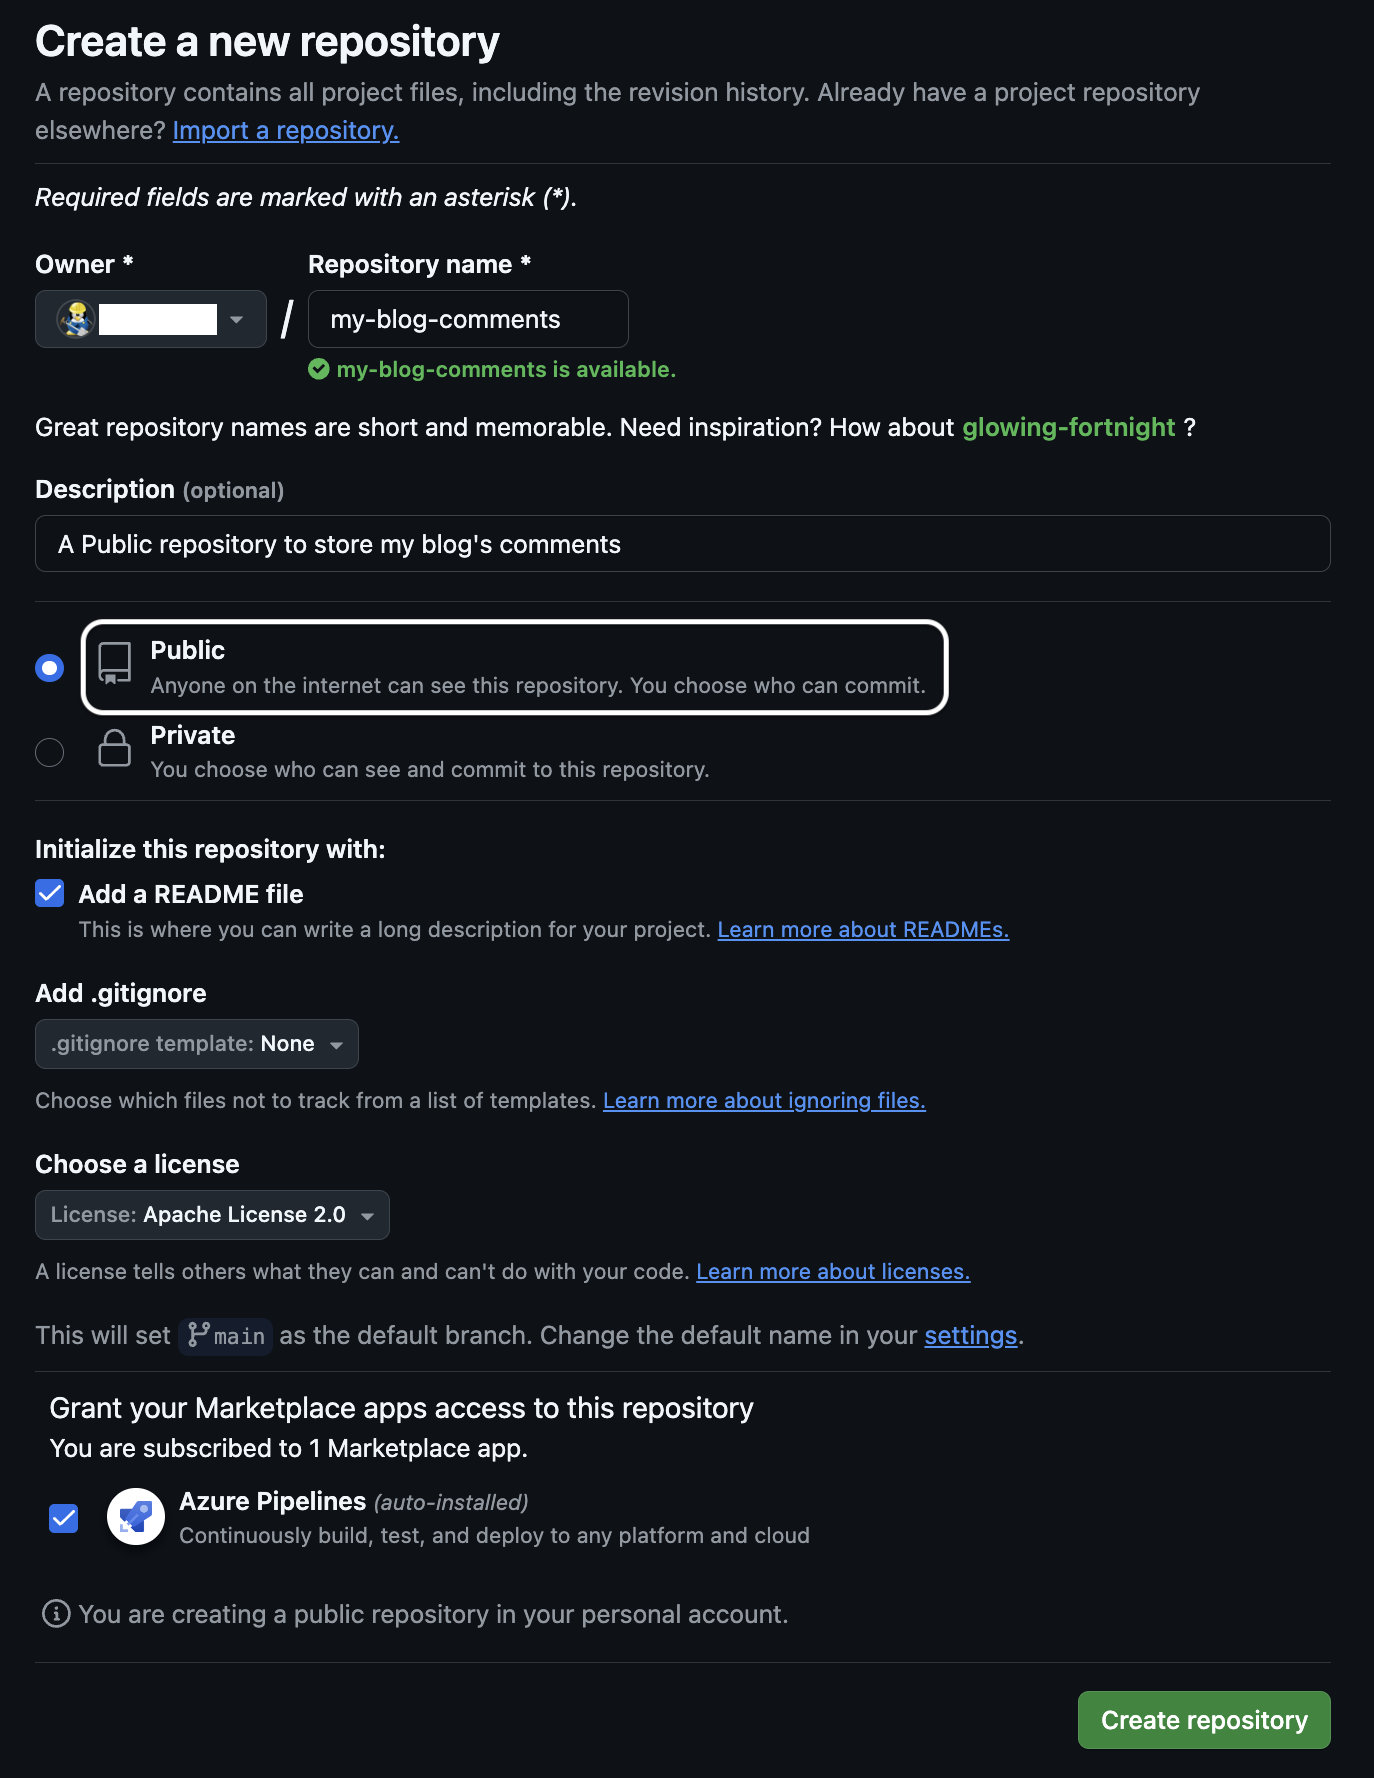
Step 1 - Create a new public repository on GitHub.
You can use your existing repository if its public
- Go to https://github.com/new
- Create a new repository with the name of your choice.
- Ensure to set the repository as Public
Step 2 - Install the giscus app as a GitHub App
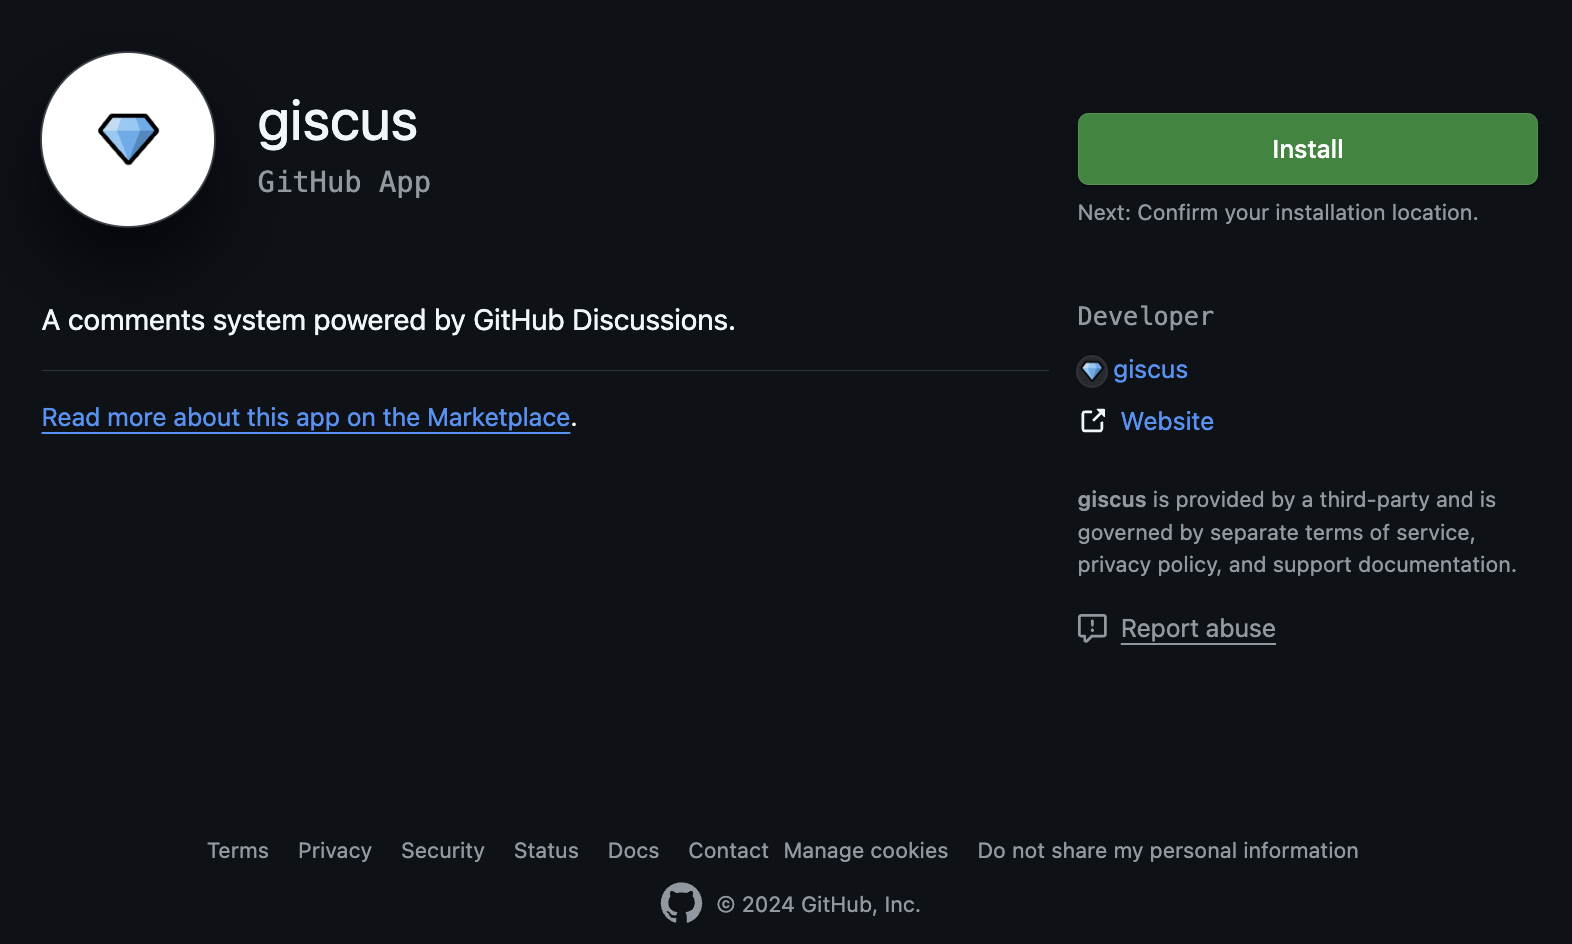
- Go to https://github.com/apps/giscus
- Click on Install
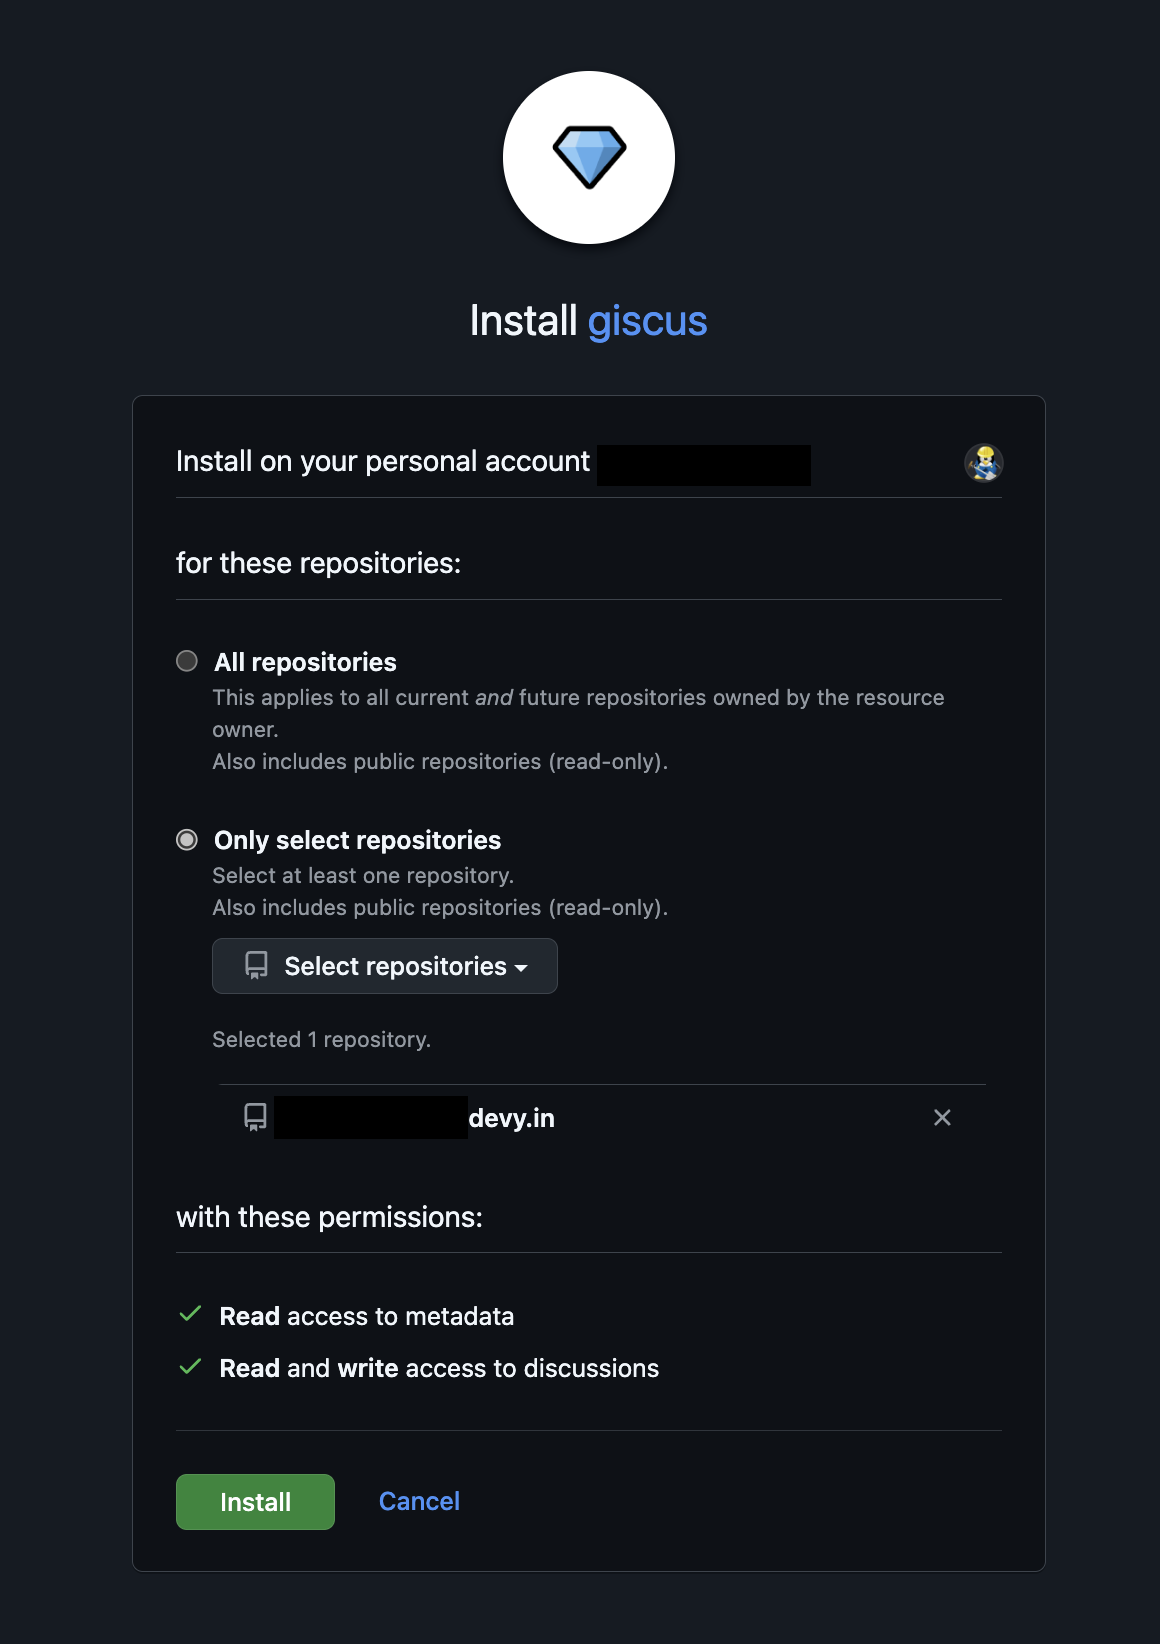
- In the Permissions Form select Only select repository option
- Next, Select the repository you created.
- Read access to metadata
- Read and write access to discussions
- Click on Install
Step 3 - Enable Discussions for the repository
- Go to the repository home page > Click on Settings Tab.

- In General > Features section, Select the Discussion feature.
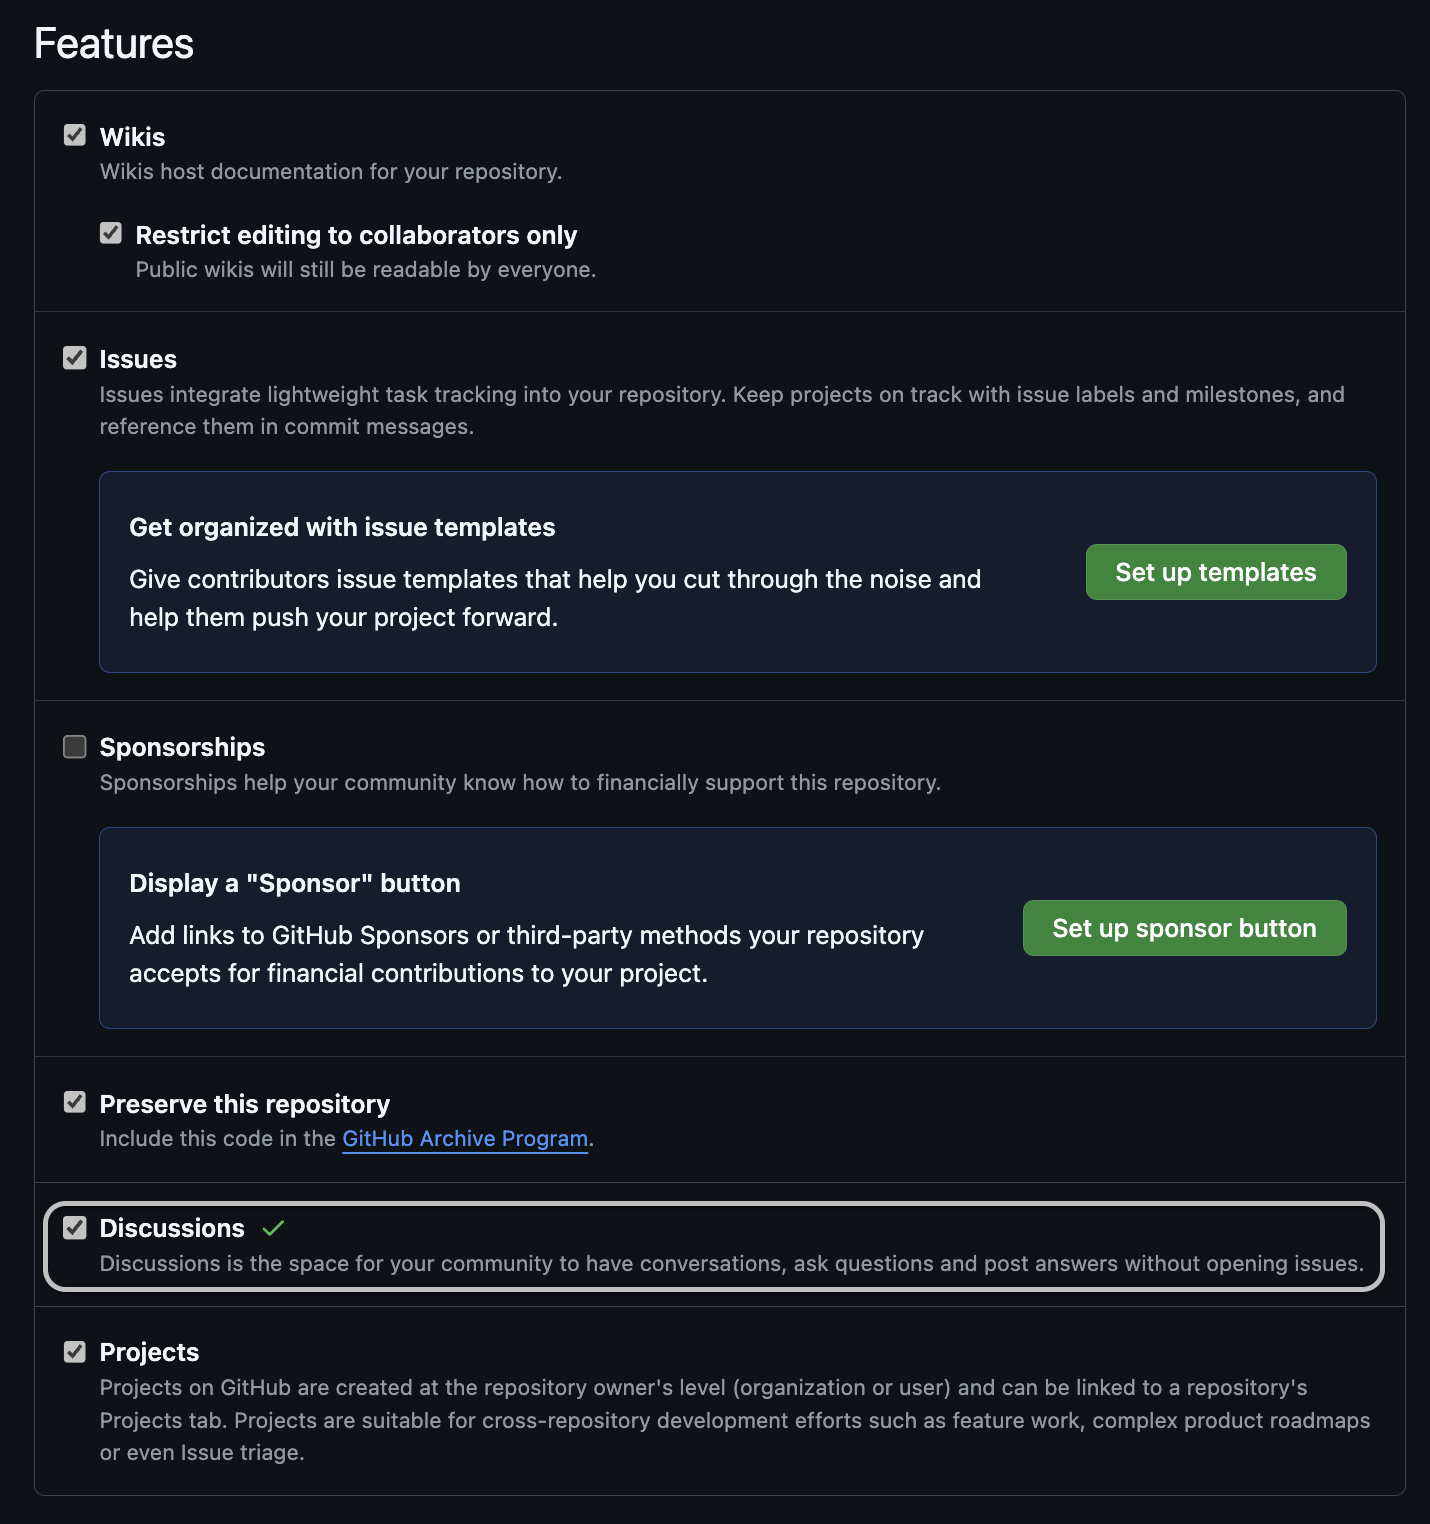
- You should be able to see Discussions Tab in the repository as shown below.

Step 4 - Integrate the giscus widget into your NextJS Blog.
- Install the react wrapper on giscus aka "@giscus/react" in your project.
npm i @giscus/react
- Create a new client only component as shown in the code below.
@/components/ui/Comments.tsx
"use client";

import Giscus from '@giscus/react';

export default function Comments() {
return (
    <Giscus
        id="comments"
        repo="username/my-blog-comments"
        repoId="R_xdDOM5TngT"
        category="General"
        categoryId="DIC_kwDOM64xpt4Ci8Px"
        mapping="pathname"
        strict="1"
        reactionsEnabled="1"
        emitMetadata="0"
        inputPosition="bottom"
        theme="dark"
        lang="en"
        loading="lazy"
    />
);
}
Head over to https://giscus.app/ and generate the code snippet. The website generates a <script .../> tag in vanilla JS. The prop names are the same as the data- attributes but without the data- prefix and written in camelCase as shown above.
Step 5 - Add the component in your blog post page.
- If you are using the default blog template, add the component to
app/post/layout.tsx.
src/app/post/layout.tsx
import Comments from "@/components/ui/Comments";
import Breadcrumbs from "../ui/breadcrumbs/breadcrumbs";

export default function PostLayout({
children,
}: {
children: React.ReactNode;
}) {
return (
    <>
    <Breadcrumbs />
    {children}
    <Comments />
    </>
);
}
- If you use mdx files for blogs and want to have explicit control over whether to enable comments on specific blogs, then you can add it to individual mdx file. But, do remember to register the component in
mdx-components.tsx::useMDXComponentshook.
mdx-components.tsx
import Comments from "@/components/ui/Comments";
...

export function useMDXComponents(components: MDXComponents): MDXComponents {
return {
    ...
    Comments:  Comments
}
app/posts/my-blog/page.mdx
## My Awesome Blog with comments
...
<Comments />
✨ A Voila! You now have a comments section in your blog.
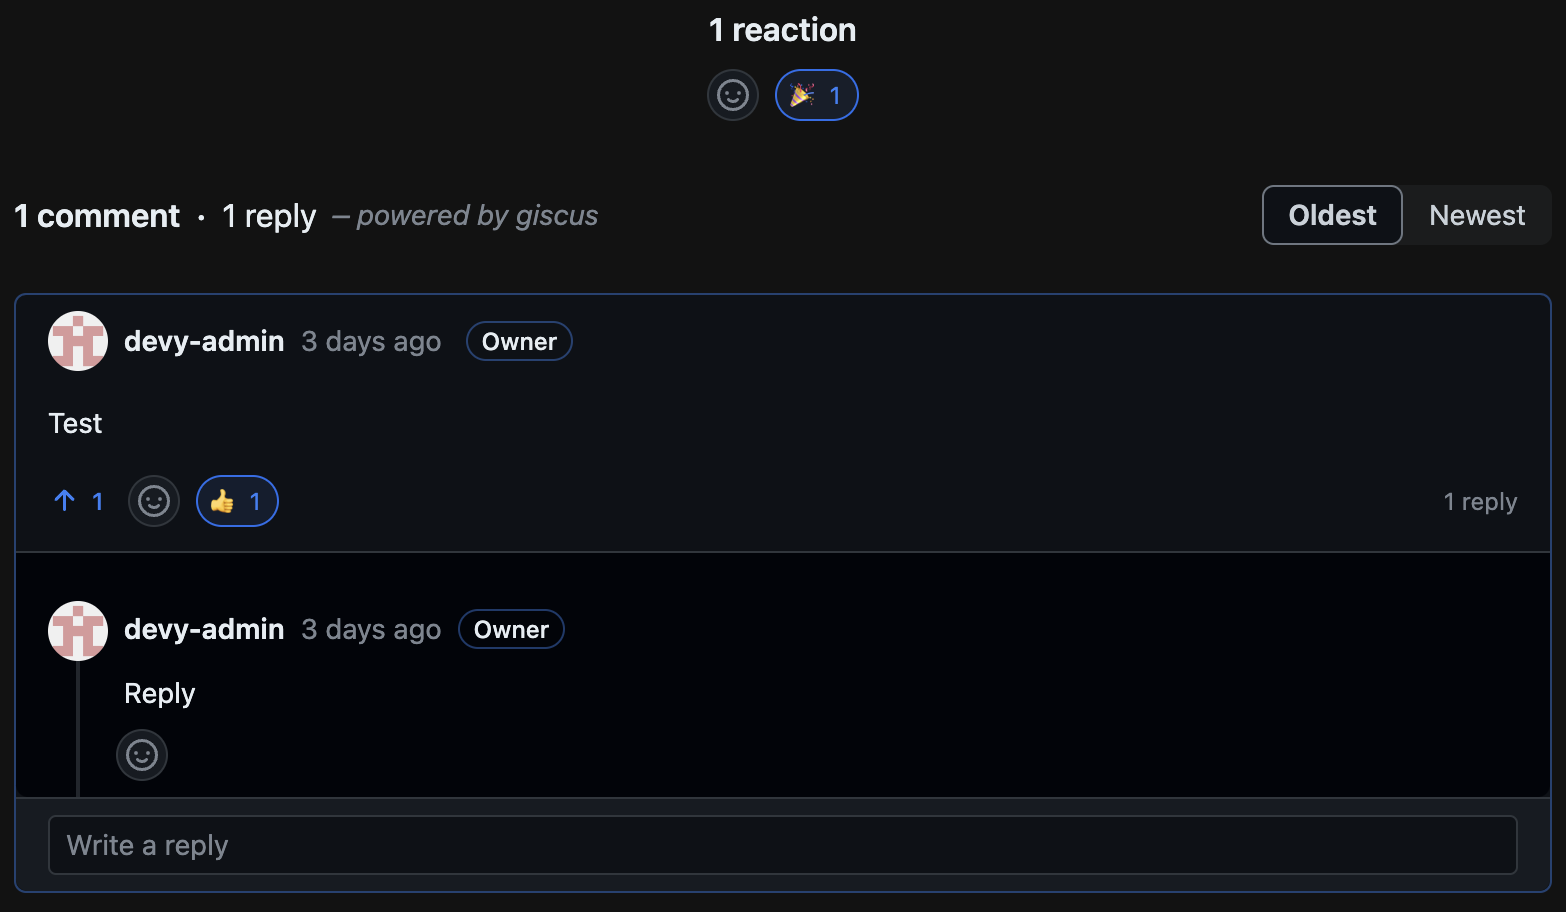
Comparing Giscus to Other Comment Solutions
While Disqus and Facebook comments have their merits, Giscus often comes out on top due to its simplicity, lightweight payload, no ads or tracking, and privacy-friendly nature.
Let's break down some key differences:
-
Disqus:
- Pros: Established platform with a large user base, robust features like moderation tools and spam filtering.
- Cons: Can be heavy on your site's loading times due to its JavaScript footprint. Often displays ads which can be intrusive for users. Privacy concerns exist due to data collection practices. Limited customization options.
-
Facebook Comments:
- Pros: Leveraging Facebook's existing user base can lead to quick engagement.
- Cons: Requires users to log into Facebook, which some may find inconvenient. Limited control over the commenting interface and design.
-
Giscus:
- Pros: Extremely lightweight and fast, minimal impact on your website's performance. Built on GitHub Discussions, so it's secure and reliable. No ads or tracking – focuses solely on providing a clean commenting experience. Uses your existing GitHub account for authentication, simplifying the login process. Highly customizable through its React component interface and custom CSS styles.
- Cons: May not have the same large user base as Disqus or Facebook comments initially.
Ready to Engage Your Audience?
With Giscus's ease of use and powerful features, you can transform your NextJS blog into a vibrant community hub in no time! So go ahead, add some comments, spark conversations, and watch your blog flourish! Start now and share your experiences in the comments below!”
References
- giscus website - https://giscus.app/
- giscus components - https://giscus-component.vercel.app/
- The original recipe utteranc - https://utteranc.es/
